Neurographic art is one of my go-to lessons when I want students to feel successful fast — especially at the beginning of the semester. This project combines two things that work really well together in the classroom:
-
a simple line drawing created with an X-grid method (super approachable for beginners), and
-
neurographic linework layered over the top to turn a basic drawing into something bold and polished.
If you teach middle school or high school art, this lesson is a confidence booster for students who say “I can’t draw,” but it still has enough structure to produce strong results (without you running around putting out creative fires all period).
If you want to explore more neurographic art techniques and classroom variations, you can see my full guide here → Neurographic Art Ideas for the Classroom.
-
Grade level: Middle + High School
-
Time: 1–2 class periods
-
Medium: Marker + watercolor/markers/colored pencil
-
Skills: X-grid drawing, neurographic line smoothing, color layering
Why this lesson works in the art room
This project looks impressive, but it’s built on very teachable skills. Students practice:
-
Drawing accuracy using a simple X-grid system
-
Line control (smoothing intersections into rounded neurographic lines)
-
Patience + process (practice first, then final)
-
Color layering while protecting their linework
-
Mindfulness + focus (the “zen zone” is real with this one)
Neurographic Art Lesson Materials (Middle + High School)
Use what you have — here are the options I’ve used successfully:
-
Printed reference image (I use a chameleon, but any simple subject works)
-
Pencil + eraser
-
Fine-tip marker or felt-tip pen (for neuro lines)
-
Final paper (white drawing paper or watercolor paper)
-
Coloring option: watercolor, markers, or colored pencil
-
Optional: practice worksheet paper (scrap paper works too)
Before you start: two teacher tips that make or break the final results
Tip #1: Make them practice first.
A 5–10 minute practice page saves you 25 minutes of frustration later. Students need to get used to rounding corners and layering color before they touch the final artwork.
Tip #2: Tell students to start with light colors + light pressure.
This is huge. If students go dark too early (especially with marker or heavy colored pencil pressure), they’ll lose detail in their linework and the neurographic design gets “muddy.” Starting light lets them build up gradually and keeps those beautiful lines crisp.
Step 1: Choose a reference image + set up the X-Grid
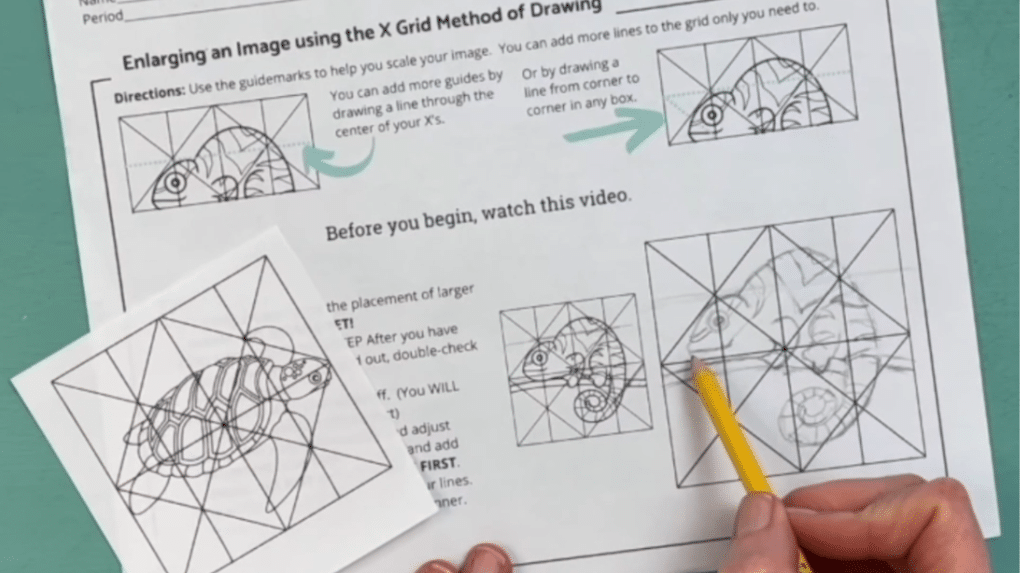
For this lesson, students start with a simple line drawing using an X-grid method. This reduces ‘blank page panic’ and helps beginners place proportions correctly. The X-grid helps beginners place shapes accurately without needing strong drawing skills right away.
Here’s the quick classroom version of the X-grid process:
-
Print the reference image for students (or project it).
-
On the reference image, draw a large X from corner to corner (top left to bottom right, then top right to bottom left).
-
Add a vertical line down the center and a horizontal line across the center (optional, but very helpful).
-
On the student’s drawing paper, draw the same X and center lines using light pencil.
Now students have a simple “map” for placement.
How students use the grid to draw:
-
Students look at where key features land in each triangle section created by the X.
-
They sketch the outline lightly by focusing on placement first, not details.
-
Keep the drawing simple — just the main contour shapes.
✅ Teacher note: I tell students, “Your goal is a clean outline, not perfection. Details come later.”
Check out this post to learn more about how to draw using an x grid.
Step 2: Practice rounding neurographic lines (don’t skip this part!)
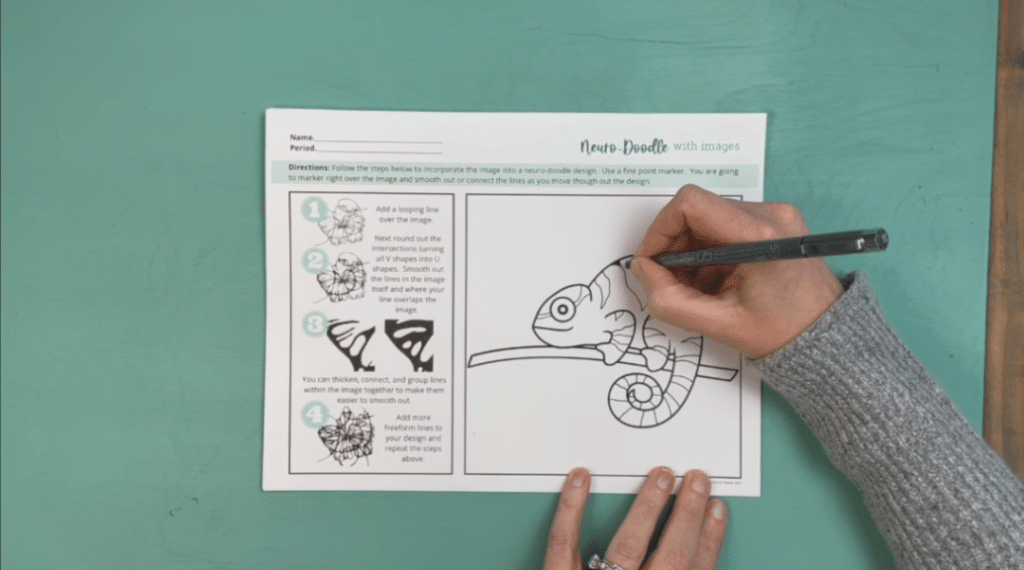
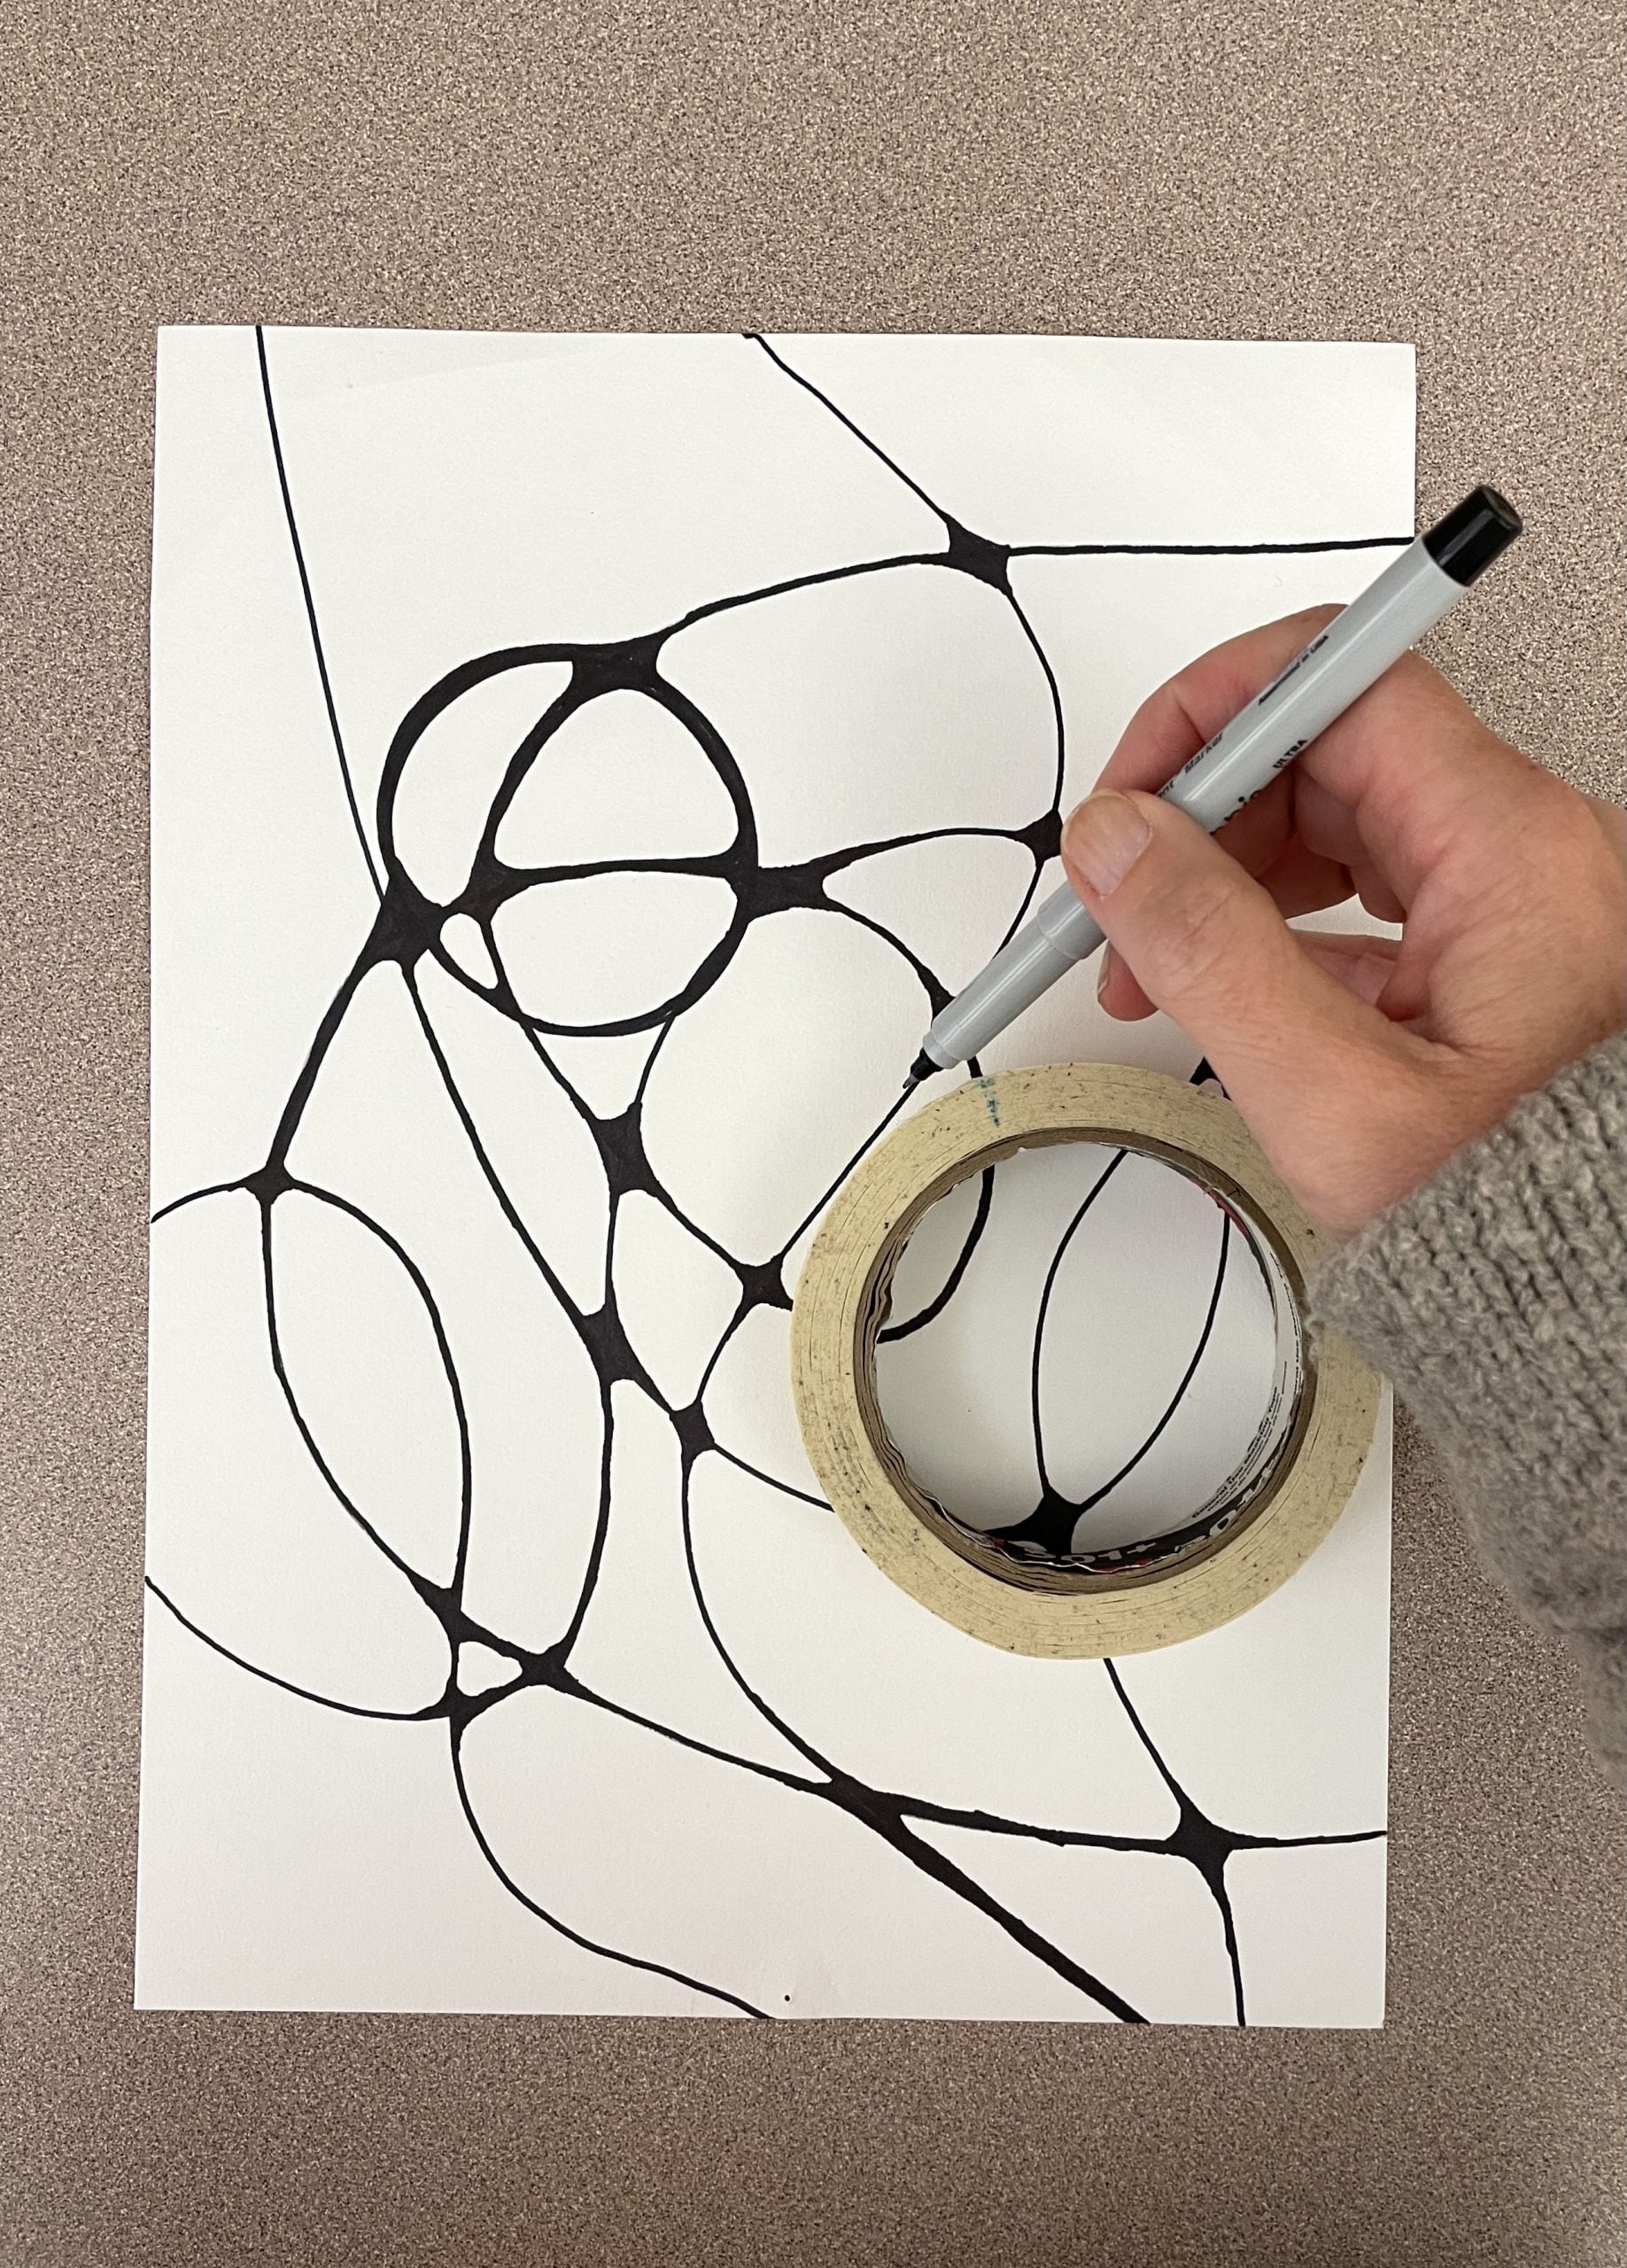
Before students work on their final drawing, we practice the neurographic technique on a worksheet (or plain paper).
The goal is simple: turn sharp corners into smooth curves.
Have students draw random lines that intersect, then practice:
-
smoothing V shapes into U shapes
-
rounding corners at every intersection
-
keeping lines flowing and consistent
I like to model this with a felt-tip marker so students can clearly see the difference between sharp intersections vs. smooth neurographic connections.
If you want the printable grids + reference images, the full lesson pack is here.
Step 3: Transfer to final paper + add neurographic linework
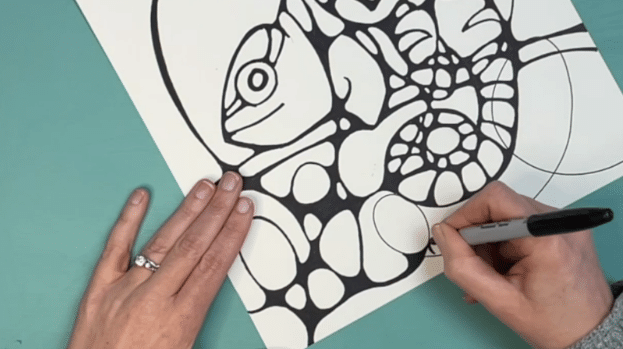
Once students finish their outline drawing, it’s time to move to the final paper and apply what they practiced.
-
Students lightly redraw (or transfer) their outline onto final paper.
-
Students add neurographic lines on top of their drawing — rounding every intersection as they go.
-
When ready, they trace the final neurographic design with a marker or felt-tip pen.
Teacher tip: Encourage students to follow one line path through the design instead of bouncing around the page. When they complete one section fully, the linework looks more cohesive.
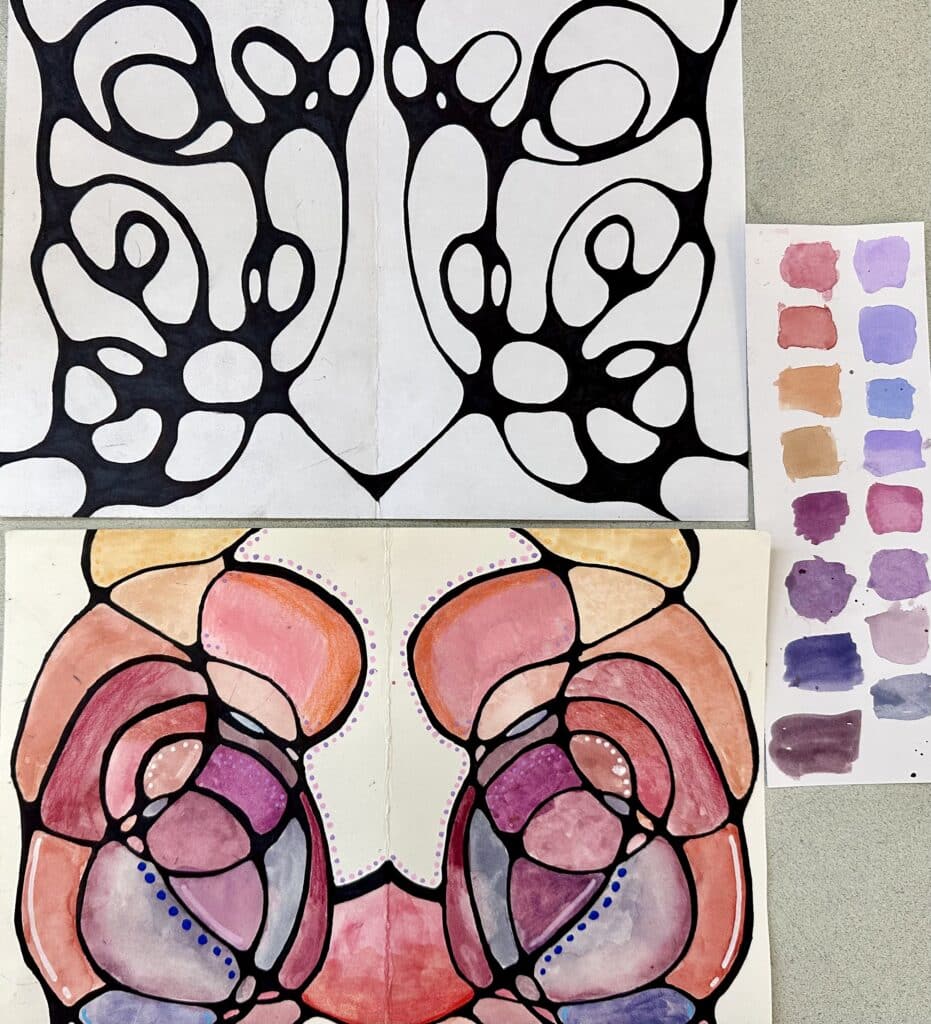
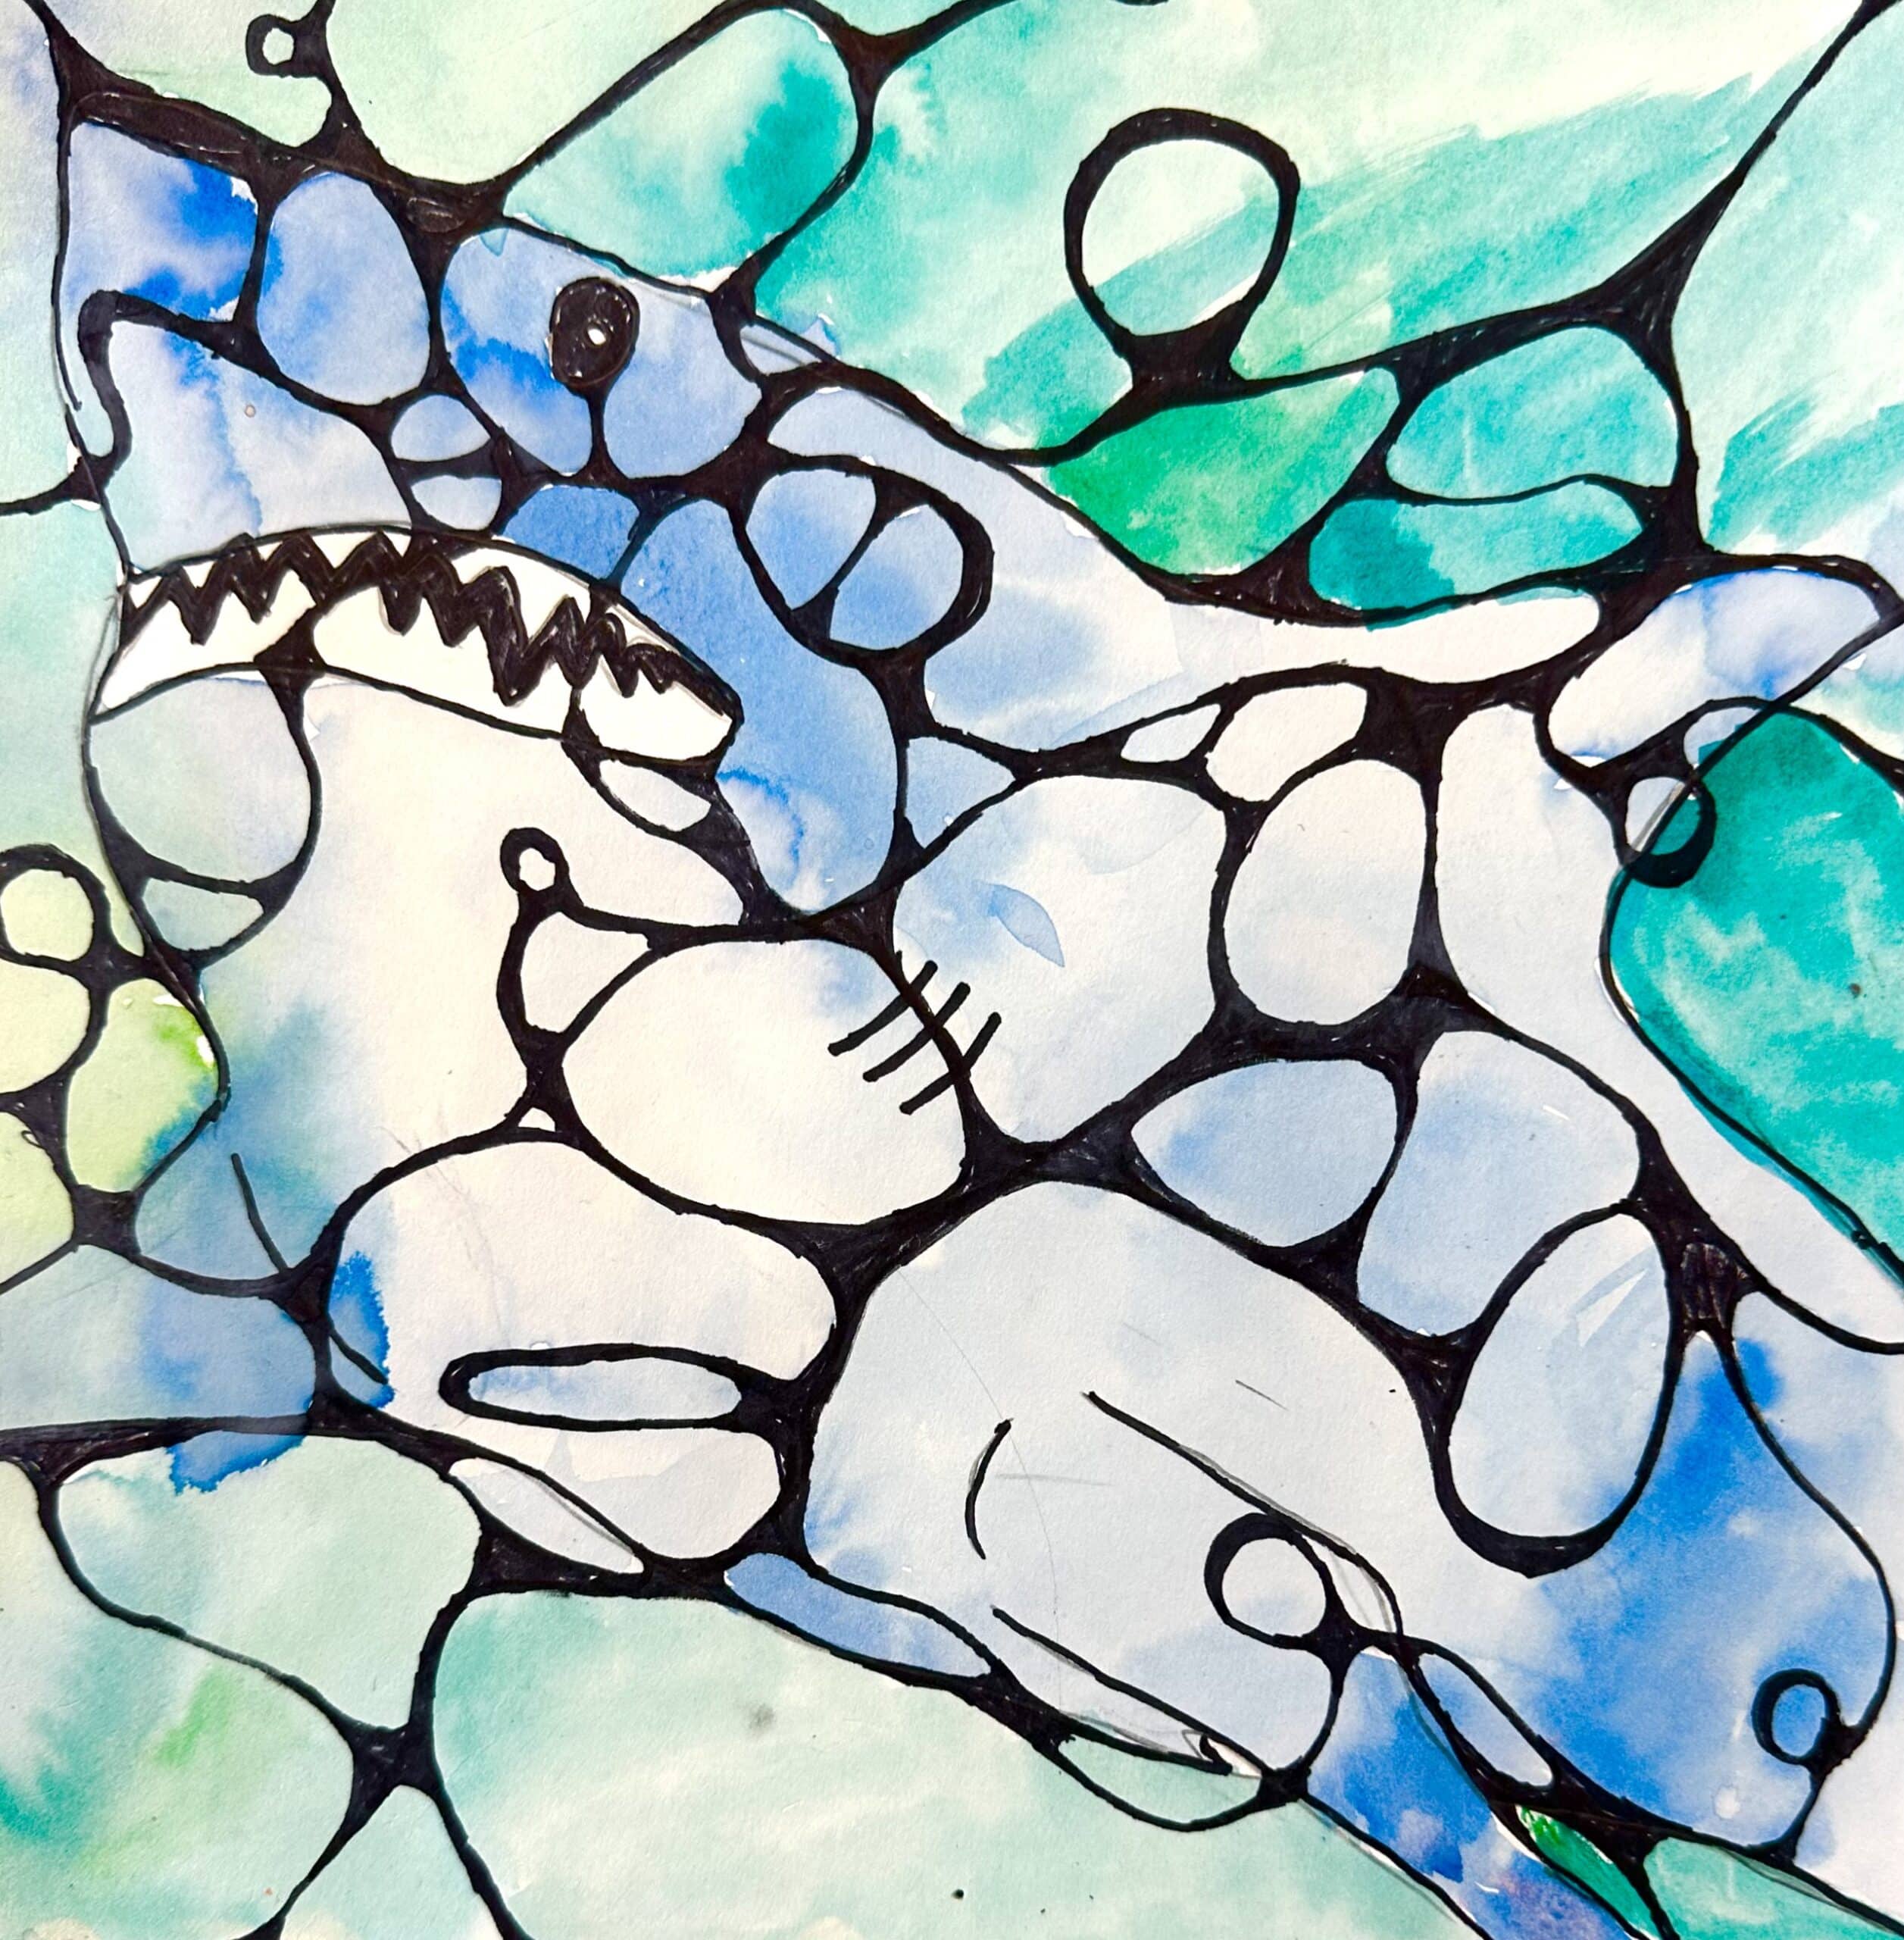
Step 4: How to Color Neurographic Art (Watercolor, Marker, or Colored Pencil

Now for the part students love: color. This is where the artwork really starts to pop — but it’s also where students can accidentally overpower their linework if they go too dark too fast.
My rule: light colors first, build slowly.
Options that work well:
-
Watercolor wash in the background + light marker details
-
Marker layering using light pressure and simple color families
-
Colored pencil layering for soft blending and gradients
Classroom tip: Have students test 2–3 color combos on scrap paper first. It prevents the “oops” moments and helps them plan before committing.
A Helpful Practice Option Before Neurographic Art
If your students need extra practice with watercolor layering and bold linework before moving into a detailed subject drawing, an abstract line-based project can be a great jumping-off point.
Abstract designs allow students to focus on:
-
controlling water and pigment
-
layering light colors first
-
protecting crisp linework
-
making intentional color choices
I often use an abstract watercolor lesson as a warm-up before this neurographic project, especially with beginners.
If you’d like a ready-to-teach option that builds those skills, you can check out my Abstract Art Project Lesson here.
Step 5: Finish + reflect
Once students are finished, take two minutes for a quick reflection. It reinforces that this wasn’t just a fun doodle — it was skill-building.
Try prompts like:
-
What did you improve from practice to final?
-
Where did starting light help your artwork?
-
What part of the process felt most relaxing or challenging?
Then let them do a gallery walk. Neurographic art looks amazing displayed together.


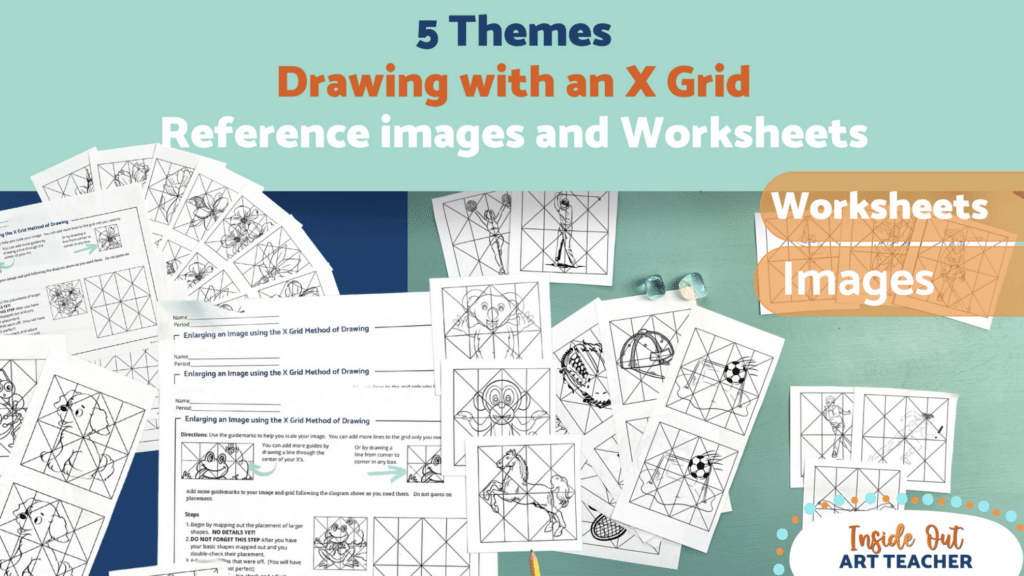
Want more themed reference images and worksheets that speak to your student’s interests?